Accessing PHP Selector on Plesk
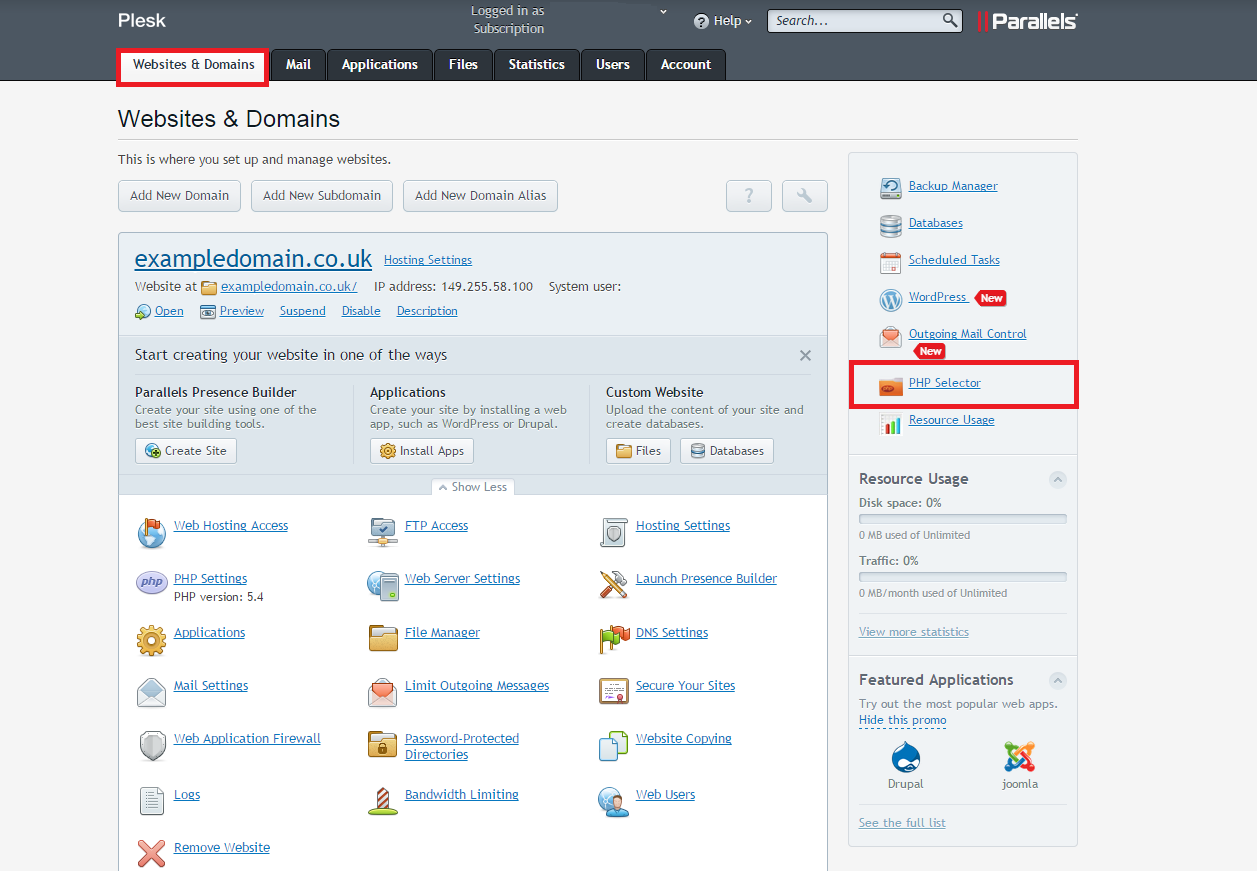
• Log into your Plesk control panel with your usual URL and Username/Password. Make sure you are under the ‘Websites and Domains’ tab and then click on the ‘PHP Selector’ option on the right hand side.
• Note: If you are a reseller, you will need to access the PHP Selector using your customers account details rather than your own. With your own subscriptions, you will need to make a customer account and move the subscription to that account and then log in with those details. Failure to do these steps will result in a ‘You are not authorized to access the resource’ message.
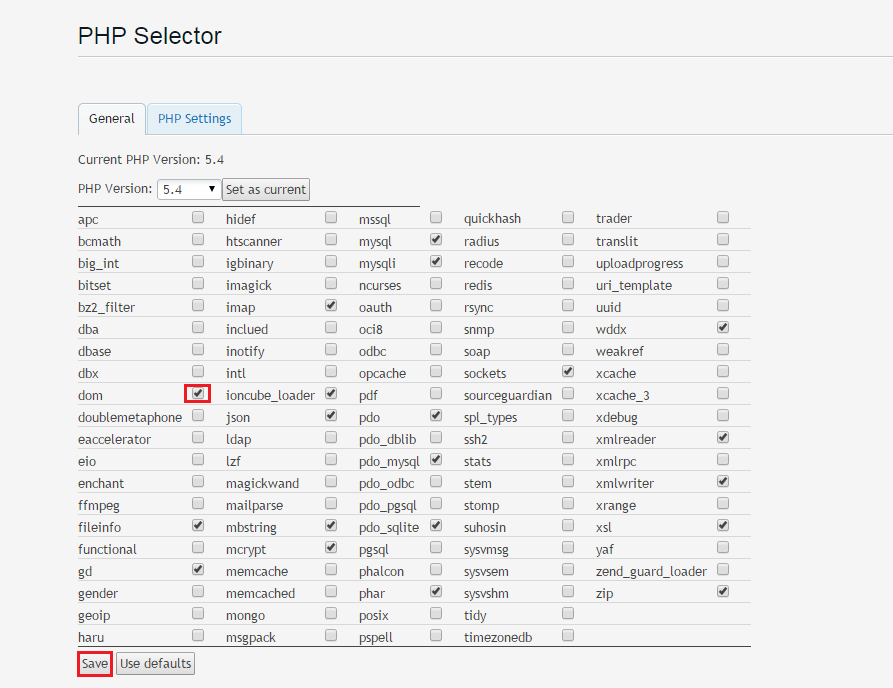
• Once inside the PHP Selector, you can enable different PHP modules by checking the box and then selecting Save. This is useful if application installs require certain modules to function properly.
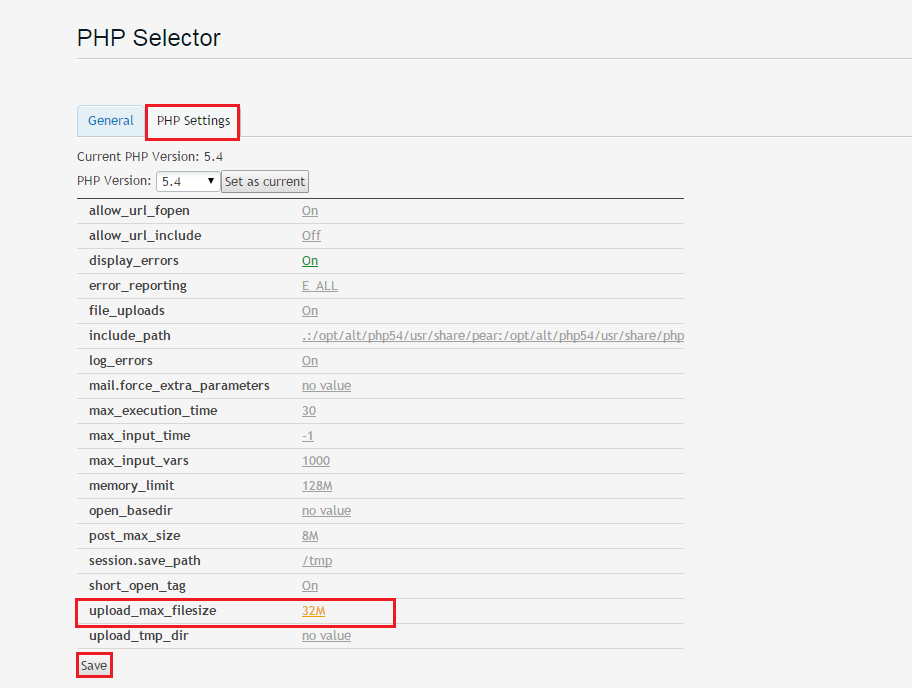
• You can also switch to the ‘PHP Settings’ tab to modify certain settings. This is helpful if you need to increase certain limits such as the upload_max_filesize. To do this, click on the value and select the limit, and press ‘Apply’. Once done, click ‘Save’ to save the changes you made.
Related Articles
How to Access the Plesk Control Panel?
Go to https://vividclouds.co.uk:8443 then enter your control panel username and password which would have been sent out to you via e-mail upon account creation. Since control panel access is SSL encrypted, you'll need to make sure that you use ...
How to install an SSL Cert in Plesk
In order to install an SSL cert after purchasing follow the steps below This article assumes you have already generated a CSR and purchased as certificate. If you have not done this, please see the related articles 1) Log into your plesk panel 2) ...
Creating a Certificate Signing Reqest (CSR) in Plesk
In order to generate a CSR in plesk, follow the steps below 1) Log into your plesk control panel 2) click on the domain you need to generate your CSR for. This should drop down a list of options including 'Secure Your Sites' 3) Click 'Secure your ...